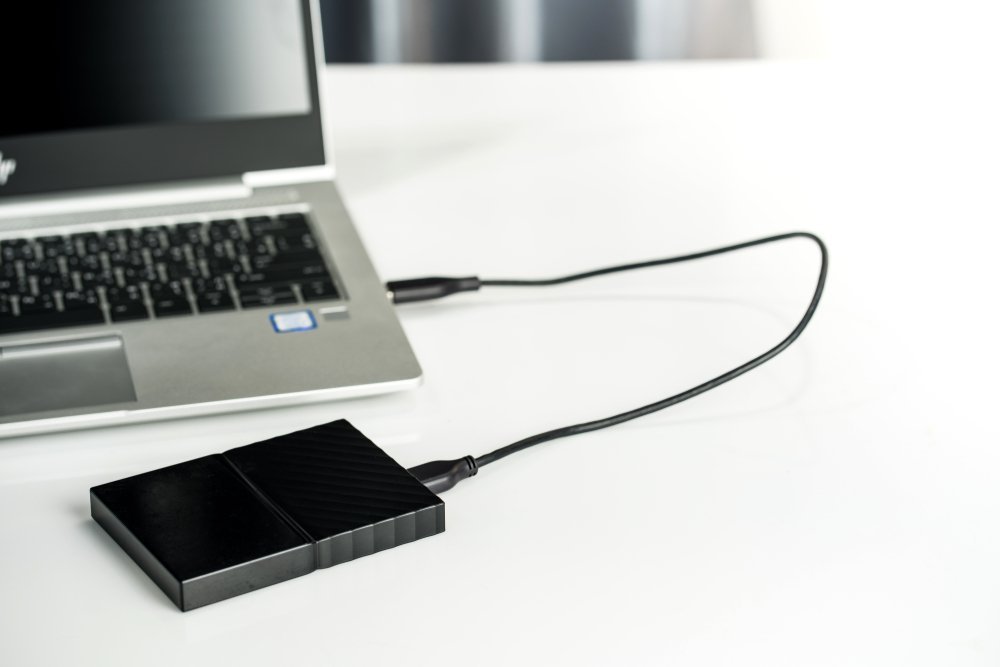
Hard drives fail. Laptops get stolen. Ransomware happens. The question isn’t whether you’ll need a backup — it’s whether you’ll have one when you do. Learning how to back up your entire computer to an external hard drive is a one-hour task that protects years of photos, documents, and work. Here’s the complete guide for Windows and Mac.
What “entire computer” backup means
There are two kinds of backup, and you want to understand the difference:
- File backup: copies your documents, photos, and personal files. Smaller, faster, and what most people need.
- System image: a complete snapshot of everything — Windows/macOS itself, programs, settings, and files. If your drive dies, you restore the image and the computer is exactly as it was.
For most people, regular file backups plus a one-time system image is the sweet spot. I’ll cover both.
Pick the right external hard drive to back up your computer
- Capacity: get a drive at least 1.5–2x the size of the data you’re backing up. Backing up 500 GB of files? Buy 1–2 TB.
- HDD vs. SSD: a portable HDD ($60–$80 for 2 TB) is the budget king for backups. An SSD ($100–$140 for 1 TB) is faster and more drop-resistant. For backups that run in the background, HDD is fine.
- Reliability: stick with known brands (WD, Seagate, Samsung). Check the warranty — 2–3 years is standard.
- Format: Windows works best with NTFS; Mac with APFS or Mac OS Extended. ExFAT works on both if you switch between systems.
Windows: File History + System Image
File History (automatic file backup)
- Plug in the external drive.
- Go to Settings → Update & Security → Backup → Add a drive and select your external drive.
- Turn on Automatically back up my files. Click More options to choose folders and frequency — hourly is the default, and it’s fine.
File History quietly versions your files, so you can recover yesterday’s version of a document you overwrote today. Let it run.
System Image (full snapshot)
- Open Control Panel → System and Security → Backup and Restore (Windows 7) — yes, it’s still there in Windows 11.
- Click Create a system image on the left, select your external drive, and let it run (30–90 minutes).
- When prompted, create a system repair disc/USB — you’ll need it to restore if Windows won’t boot.
Do this once after a fresh setup and again after major changes. Store the repair USB somewhere safe.
Mac: Time Machine
Mac users have it easiest:
- Plug in the external drive. macOS will ask if you want to use it for Time Machine — say yes.
- If it doesn’t ask: System Settings → General → Time Machine → Add Backup Disk.
- Turn on Back Up Automatically. Optionally encrypt the backup (recommended for portable drives).
Time Machine backs up everything — system, apps, files — hourly, keeping daily snapshots for a month and weekly ones until the disk fills. Restoring is equally simple: boot into Recovery Mode and choose Restore from Time Machine. It’s the best built-in backup tool on any platform, and there’s no reason not to use it. Apple’s Time Machine guide covers setup and recovery in detail.
The 3-2-1 rule (do this)
One backup isn’t enough. Follow the 3-2-1 rule: 3 copies of important data, on 2 different media types, with 1 copy offsite. In practice:
- Copy 1: your computer.
- Copy 2: the external hard drive (local, fast restore).
- Copy 3: cloud backup (Backblaze at $9/month unlimited, or iCloud/Google One) for fire/theft scenarios.
The external drive protects against drive failure and ransomware; the cloud copy protects against the house burning down. Our comparison of the cheapest cloud storage for family photos applies to general file backup too.
How often should you back up?
- Automatic file backup: leave it on always. Set-and-forget beats willpower.
- System image: monthly, or after big changes (new software, OS upgrades).
- Test your backup yearly. A backup you’ve never restored from is a hope, not a plan. Verify you can browse the files; ideally, do a test restore of a single folder.
Common mistakes to avoid
- Leaving the drive plugged in 24/7. Ransomware encrypts attached drives too. Plug in for the backup, then unplug — or use a second drive you rotate.
- Backing up to the same physical drive. A partition on your internal drive is not a backup.
- Ignoring the “backup failed” warnings. Check the backup status monthly. Silent failures are how people discover their “backup” is two years stale.
- Forgetting what’s not backed up. Browser bookmarks, app settings, and email archives sometimes live outside the backed-up folders. Verify.
What about when disaster already struck?
If you’re reading this because a computer already died, don’t panic — drives from dead machines can usually be read with a $15 USB enclosure, and our walkthrough for a laptop that won’t turn on covers data recovery from unbootable machines. Then set up the backup system above so there’s never a next time.
The bottom line
To back up your entire computer to an external hard drive, plug in a drive with 2x your data size, turn on File History (Windows) or Time Machine (Mac), and create a system image for full recovery. Add a cloud copy for the 3-2-1 rule, test restores yearly, and unplug the drive between backups. One hour of setup today saves you from the worst Monday of your life later.