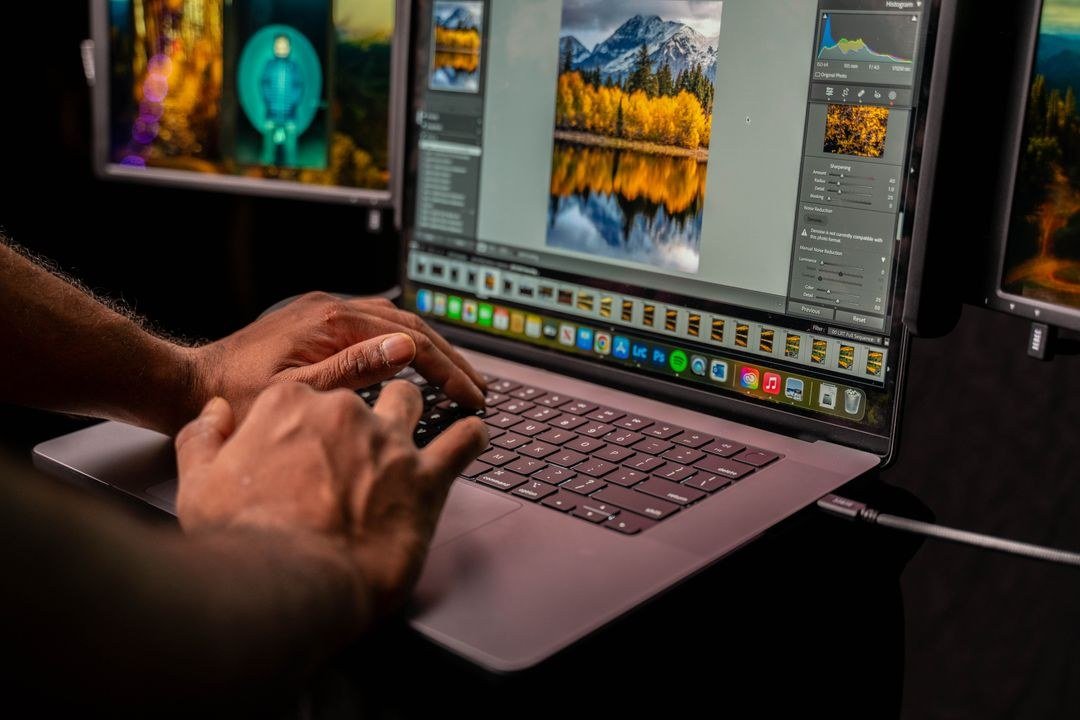
You took a great photo — except for the stranger in the background, the weird lighting, and the trash can in the corner. Ten years ago, fixing that meant learning Photoshop. Today, the easiest AI tool for editing photos for beginners can remove the stranger, fix the light, and erase the trash can with about three clicks and zero skill. The barrier between “I wish this photo looked better” and “done” has basically collapsed.
I edit photos constantly for articles and social posts, and I am not a designer. Here are the beginner-friendly AI photo editors actually worth your time, ranked by ease — plus how to get good results fast.
The Easiest AI Tool for Editing Photos for Beginners
For pure ease-of-use, Canva’s photo editor wins for most beginners: free, runs in your browser, and its AI tools (Magic Eraser, background remover, Magic Edit) work by just brushing over what you want gone or describing what you want. If you want slightly more power without a learning curve, Adobe Express is the runner-up. For phone-only editing, Google Photos’ Magic Editor is astonishingly capable and already on your phone.
The Beginner-Friendly Lineup
Canva (free tier) — easiest overall
Upload a photo, click Edit, and you get: Magic Eraser (brush away objects), BG Remover (one-click transparent backgrounds), Magic Edit (select an area, describe the change: “add sunset clouds”), and Auto Enhance. Everything is visual — no sliders with cryptic names. The free tier includes generous AI uses per month. If you only learn one tool on this list, learn this one.
Google Photos Magic Editor — best on your phone
On recent Pixel and Samsung phones (and increasingly others), Magic Editor lets you move subjects, erase distractions, and even “reimagine” skies with a tap. It is the closest thing to magic in photo editing, and you already own it. The catch: it is phone-only and tied to your device’s AI features.
Adobe Express (free tier) — best templates + editing combo
Adobe’s answer to Canva, with Generative Fill powered by Firefly: select an area, type what you want (“remove person,” “add balloons”), done. Slightly more polished output than Canva for complex fills, and the free tier is genuinely useful.
Luminar Neo — best “one-slider” enhancements
If you want photos to look professionally graded without learning anything, Luminar’s AI templates (Atmosphere, Portrait Bokeh, Sky Replacement) do in one click what takes Lightroom users twenty minutes. It is paid software, but the time savings for batch-enhancing event or product photos is real.
Cleanup.pictures / similar web tools — best quick object removal
For the single most common beginner task — “get that thing out of my photo” — free web tools like Cleanup.pictures do it in seconds with no account. Bookmark one; you will use it monthly.
The Five Edits Beginners Actually Need
Forget the 200 features. Master these five and you will handle 95% of real-world photo fixes:
- Remove distractions. Brush over photobombers, trash cans, exit signs. Magic Eraser / Generative Fill.
- Fix lighting. Auto-enhance or “adjust lighting” for backlit faces and dull indoor shots. One click, huge difference.
- Straighten and crop. Slightly tilted horizons ruin more photos than bad lighting. Auto-straighten exists in every tool here.
- Remove backgrounds. For product shots, profile pictures, and thumbnails — one click to transparent or a clean new background.
- Upscale small images. AI upscalers (built into several tools above) rescue low-resolution images for print or large screens.
Tips for Good Results (and Avoiding the Uncanny)
- Start with the best original you can. AI fixes flaws; it cannot invent detail that was never captured. A sharp original beats a heavily “enhanced” blurry one.
- Less is more. The telltale sign of beginner AI editing is over-smoothing skin into plastic and over-saturating colors into candy. Dial every effect back 20% from your first instinct.
- Check hands, text, and edges. AI generation still fumbles fingers, garbles background text, and leaves halos around cutouts. Zoom in before publishing.
- Keep originals. Save the unedited file. Future-you will want it when tastes change or a client asks.
The ethics footnote
Removing a trash can is editing. Removing wrinkles from a model’s face for an ad, altering a news photo, or generating a “photo” of something that never happened crosses into deception. As AI editing gets easier, the line matters more, not less — it is worth knowing how to spot AI-generated photos online, because the same tools you are learning are flooding everyone else’s feed too.
For Business Use
If you are editing product photos or marketing images, consistency matters more than perfection: same backgrounds, same lighting feel, same crop ratios across your catalog. Build a simple template in Canva once, then drop new photos into it — this is one of the highest-leverage uses of free AI tools for small business owners, turning phone snapshots into a coherent brand look in minutes per image.
Free vs. Paid: When to Upgrade Your Editor
The free tiers covered in this guide handle nearly everything a beginner needs — so when is paying worth it? Upgrade when you hit one of three walls: you are editing photos commercially (clients deserve the full-resolution exports, batch processing, and premium templates that paid tiers include); you have outgrown the basics and want advanced control (layer-based editing, RAW processing, precise selections); or you are burning time fighting free-tier limits (watermarks, monthly AI-credit caps, missing export formats). For most hobbyists, that day never comes — free Canva plus Google Photos covers years of family photos and social posts.
If you do upgrade, upgrade once and deliberately: pick the tool whose free version you already know rather than chasing feature lists. The learning curve you have already climbed is worth more than any feature bullet. And keep perspective on what matters — the difference between a free and paid editor is dwarfed by the difference between editing and not editing, and both are dwarfed by taking better photos in the first place. Good light and a deliberate composition beat premium software every time. Tools remove flaws; only the photographer creates the image. For exploring Adobe’s free tier as a next step, Adobe’s Express offering is a natural bridge from beginner to intermediate without a subscription commitment.
The Practical Takeaway
Start with Canva’s free photo editor (or Google Photos Magic Editor on your phone) and learn five moves: remove distractions, fix lighting, straighten, remove backgrounds, upscale. Brush, describe, done — no Photoshop required. Keep edits subtle, check the details at full zoom, and save your originals. In an afternoon you will go from “I wish I could fix this photo” to fixing it in under a minute.


