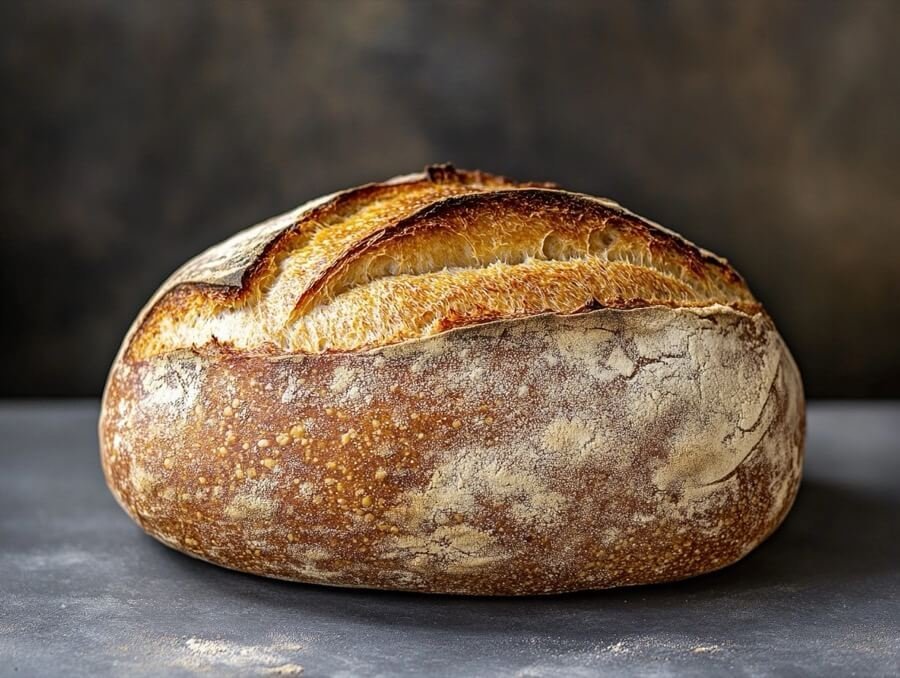
Here’s the secret the bread world took way too long to share: you don’t need to knead. Time does the kneading for you. Learning how to make homemade bread with no kneading required changed my kitchen forever — a crackling, open-crumbed, bakery-style loaf with about five minutes of actual work and an overnight rest doing all the heavy lifting.
The method comes from Jim Lahey of Sullivan Street Bakery in New York, popularized years ago, and it has survived every trend since because it simply works. Wet dough plus long, slow fermentation equals gluten development without a single push or fold. If you can stir flour and water in a bowl, you can make this bread.
Why No-Knead Bread Actually Works
Kneading develops gluten, the protein network that gives bread its chew and structure. But gluten also develops on its own when flour hydrates over time — it just needs hours instead of minutes. A very wet dough (around 75–80% hydration) lets the proteins align themselves during a long, slow rise. The tiny amount of yeast ferments slowly, building complex flavor that a quick two-hour dough can’t touch. Science does the work; you just wait.
The Basic No-Knead Bread Recipe
This makes one round loaf. You’ll need a Dutch oven or any heavy oven-safe pot with a lid — that’s the real equipment requirement, and it’s what creates the steam for a crackling crust.
Ingredients
- 3 cups (400g) all-purpose or bread flour
- 1½ teaspoons fine sea salt
- ½ teaspoon instant yeast
- 1½ cups (355ml) lukewarm water
Steps
- Mix (5 minutes, evening): Stir everything in a large bowl until no dry flour remains. The dough will look shaggy and rough — that’s correct. Cover with plastic wrap or a damp towel.
- Rest (12–18 hours): Leave at room temperature. The dough will bubble, rise, and develop a slightly boozy smell. Longer is generally better within that window.
- Shape (5 minutes, next day): Turn the dough onto a floured surface, fold it over on itself a few times to form a rough ball, and let it rest 30 minutes on parchment paper while the oven heats.
- Bake (45 minutes): Heat the oven to 450°F with the Dutch oven inside for at least 30 minutes. Lower the dough in on its parchment, cover, and bake 30 minutes. Uncover and bake 15 minutes more until deeply golden.
- Cool: This is the hardest step. Wait at least an hour before slicing — the interior is still setting, and cutting early gives you a gummy crumb.
How to Make Homemade Bread With No Kneading: Troubleshooting
My loaf is flat and dense
Usually under-fermentation or weak shaping. Make sure the dough roughly doubles and looks bubbly before shaping, and don’t skip the preheat — a screaming-hot Dutch oven gives the “oven spring” that lifts the loaf. Also check your yeast isn’t expired; it happens to everyone.
The bottom burned
Move the rack up one notch, or put a baking sheet on the rack below the Dutch oven to deflect direct heat. A little extra parchment under the loaf helps too.
The crust went soft by evening
Store cut-side down on a cutting board, not in plastic. Plastic traps moisture and softens that crackle you worked for. Day-old bread makes incredible toast or homemade pizza night croutons.
Easy Variations Once You’ve Nailed the Basic Loaf
- Rosemary sea salt: fold in 2 tablespoons chopped fresh rosemary during shaping.
- Cheddar jalapeño: add 1 cup shredded sharp cheddar and 2 diced jalapeños (seeds removed for sanity) to the dry ingredients.
- Whole wheat blend: swap 1 cup of the flour for whole wheat; add an extra 2 tablespoons of water.
- Overnight cinnamon raisin: add 1 teaspoon cinnamon and ¾ cup raisins; serve toasted with butter and try not to eat the whole loaf standing up.
For deeper dives into flour types and hydration, King Arthur Baking’s guides are the most beginner-friendly resource I’ve found — their test kitchen answers questions thoroughly.
Beyond the Basic Loaf: Building Your Bread Instincts
Once the basic no-knead loaf works, these are the skills that turn you from recipe-follower to actual baker:
Reading the dough
Recipes give times; dough gives signals. Learn to read them: the dough should roughly double and look bubbly and alive. It should smell pleasantly yeasty, even slightly boozy – that is fermentation doing its job. If it smells like nothing after 12 hours, your kitchen is cold; give it more time or a warmer spot. If it has collapsed and smells strongly of alcohol, it over-fermented – bake it anyway (it will be flatter but still good) and shorten the next rest. After three or four loaves, you will read dough like a book.
Flour matters more than you think
All-purpose flour works fine, but bread flour (higher protein) gives a chewier crumb and better rise. Whole wheat adds flavor but heaviness – substitute no more than 30% at first. And flour brands differ: protein content varies, which changes how much water the dough wants. If your dough is consistently soupy or stiff, adjust water by tablespoons, not cups. The best bakers weigh flour; the second-best bake the same brand repeatedly until they know it.
Scoring: form and function
That slash on top is not decoration – it controls where the loaf expands in the oven, preventing blowouts. A simple cross or single curved slash with a sharp serrated knife (or a razor blade) is enough. Score confidently and quickly, about half an inch deep, right before the dough goes into the Dutch oven. Hesitant scoring drags and deflates; commit to the cut.
The second loaf rule
Here is the truth about bread baking: loaf one teaches you the recipe, loaf three teaches you the feel, loaf ten makes it instinct. The learning curve is short but real – do not judge the method by your first attempt. Bake weekly for a month and you will have a skill for life. And the failures are still edible: flat loaves become crostini, dense loaves become breadcrumbs, over-baked loaves become the toast that makes breakfast legendary.
The Takeaway
Mix at night, bake the next day, and you’ll pull a loaf from your oven that looks like it came from a bakery case. No stand mixer, no kneading, no special skills — just flour, water, salt, yeast, and patience. Once you’ve done it twice, it becomes a background habit, and store-bought sandwich bread starts tasting like a compromise. If the dough bug bites you further, a well-seasoned cast iron skillet also bakes a fantastic rustic loaf.





One thought on “No-Knead Bread: How to Make Homemade Bread Without Kneading”